Contact Us

Have a question/comment for me? Drop a line, or two or three.


123 Street Avenue, City Town, 99999

(123) 555-6789

email@address.com


You can set your address, phone number, email and site description in the settings tab.
Link to read me page with more information.

Recipes & All Things Foodie

Fig Pastry

Shavise Glascoe

Growing up the only exposure I had to figs was with Fig Newtons. Sad, I know. It wasn't until a few years ago that I had a fresh fig and I instantly fell in love. The love was deep enough for me to make a number of dishes with them. But I would say that my favorite dish was the Fig Pastry. Why? Not only is it yummy, but it was super easy to make and TOTALLY random. I have no idea as to what inspired me to make it, but I will never regret this experiment.
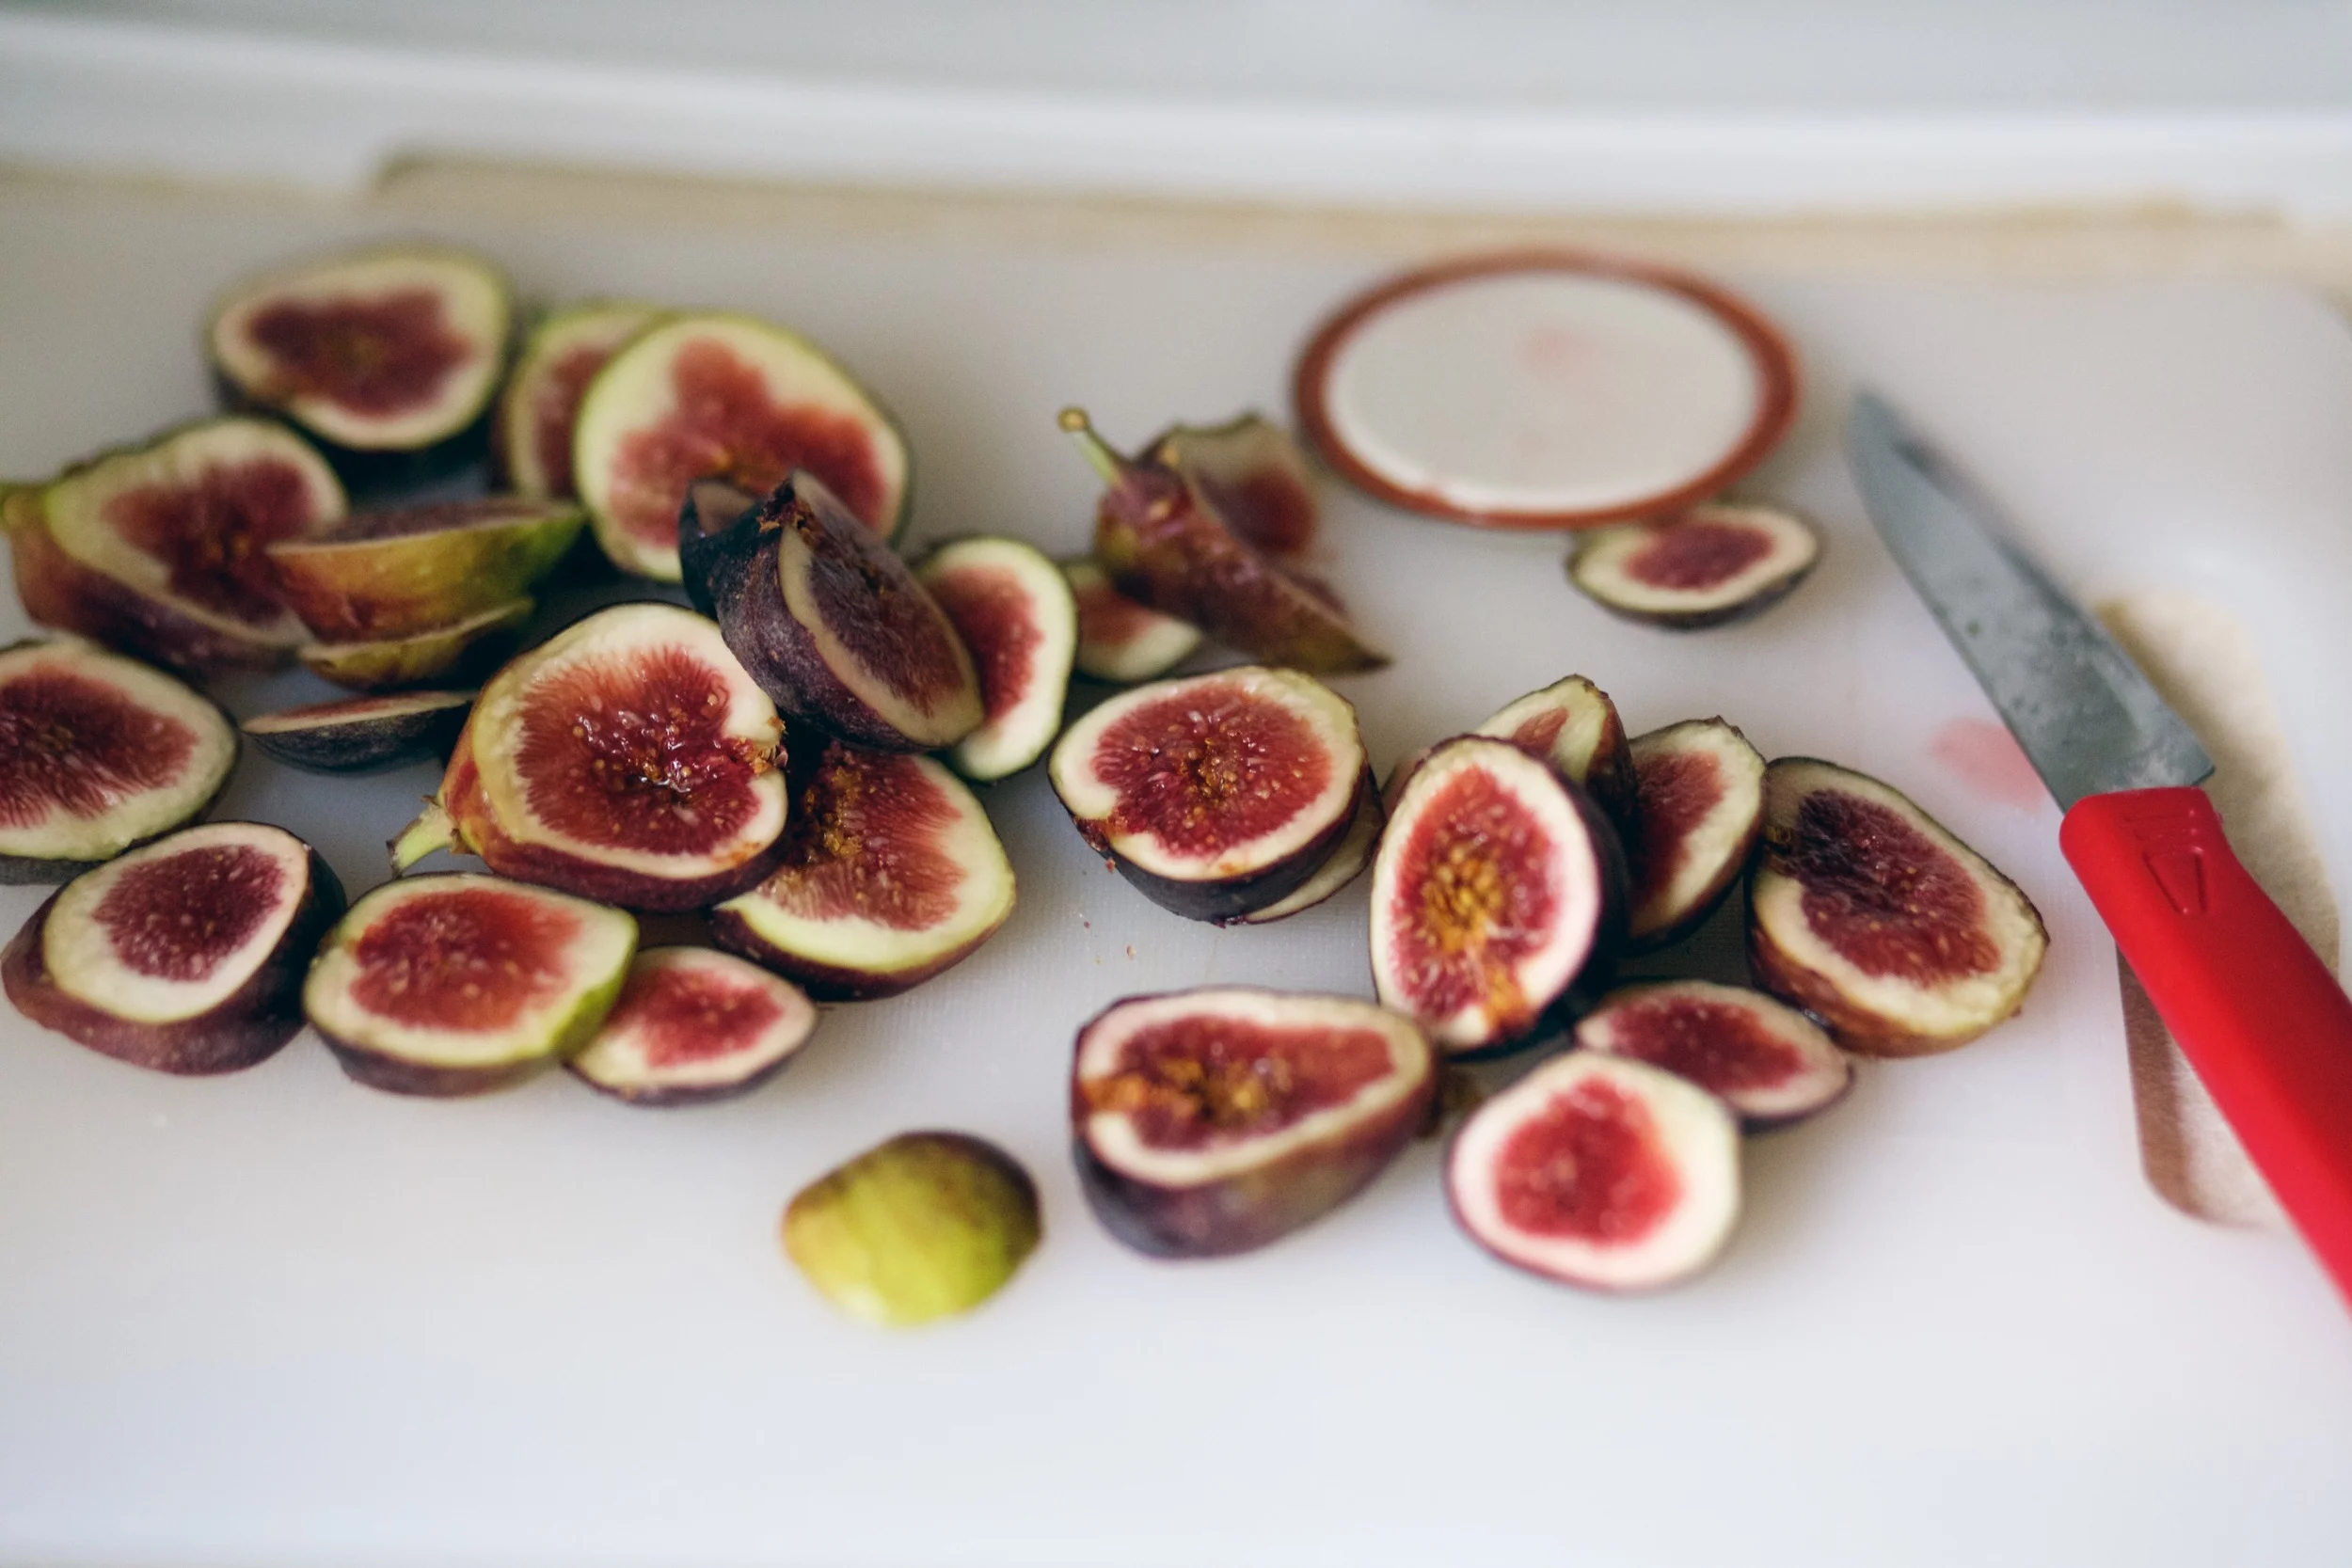
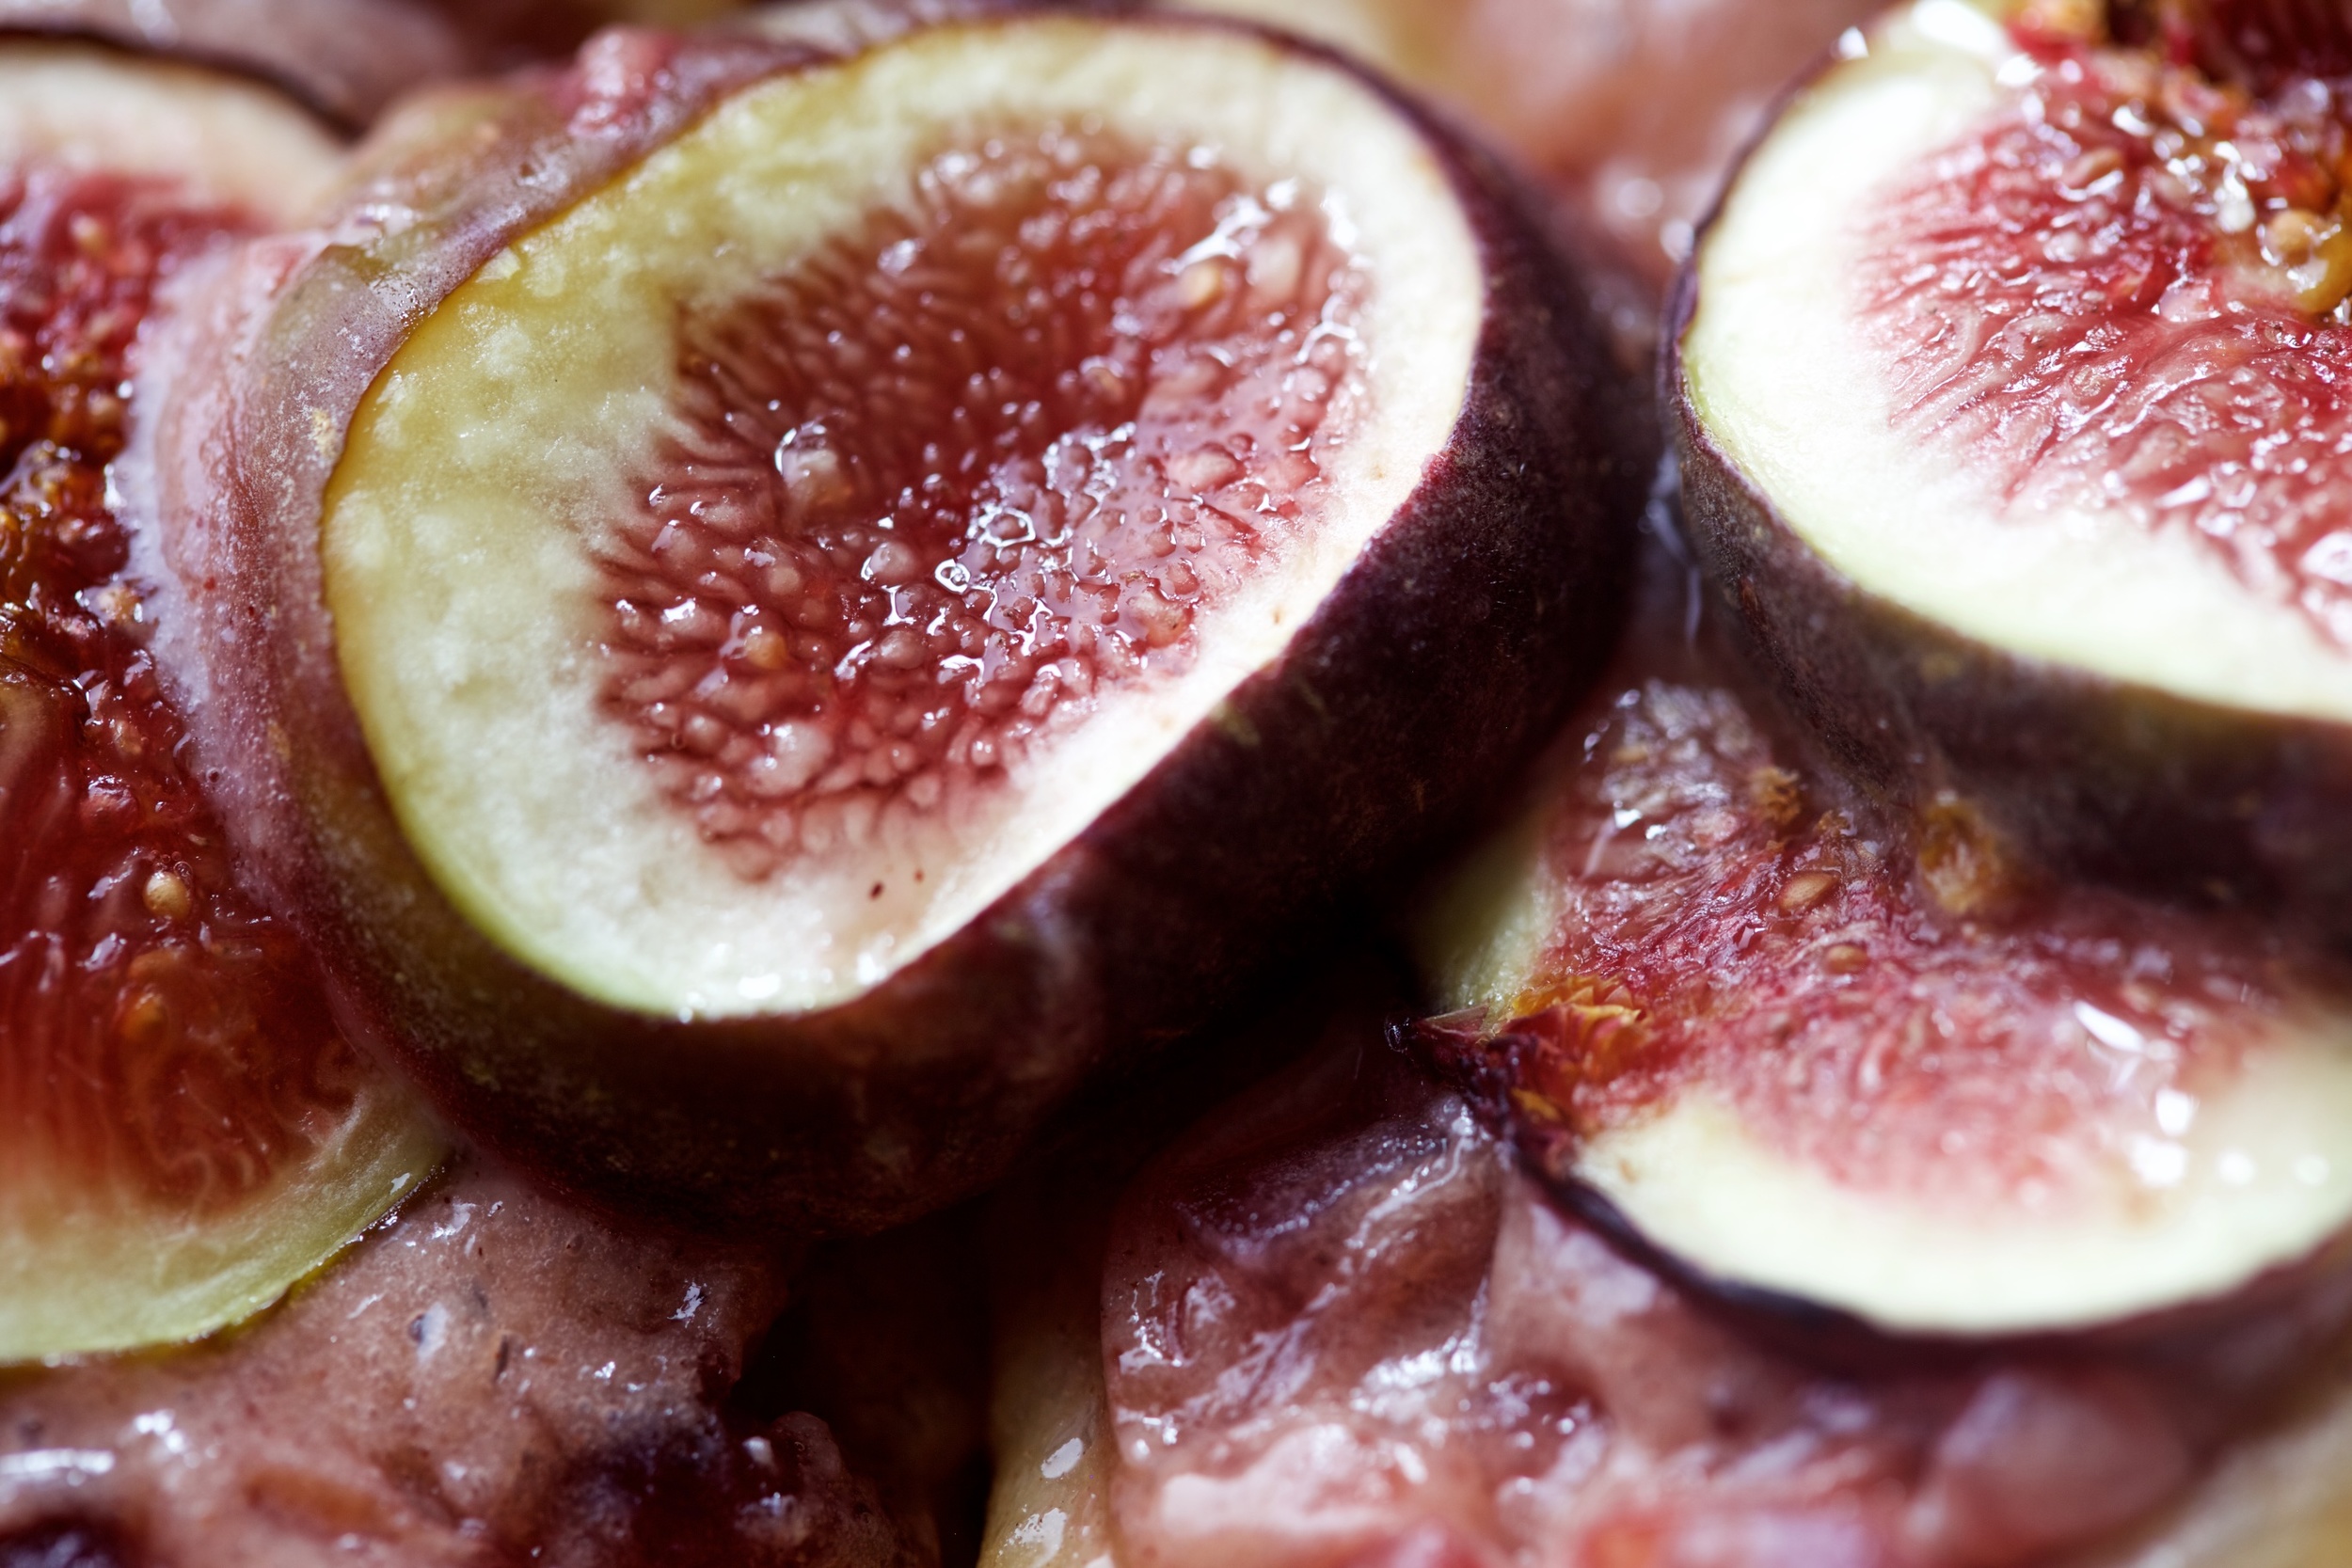
Sliced fresh figs

Sliced fresh figs


Recipe

  • 1 can of Pillsbury Crescent Rolls
  • (About 1/4 cup)Cream Cheese (Cinnamon and Brown Sugar-RECOMMENDED)
  • (About 1/4 cup) Fruit Spread or Butter (Apple, Cherry, Raspberry etc.)
  • Fresh Figs (8-10)
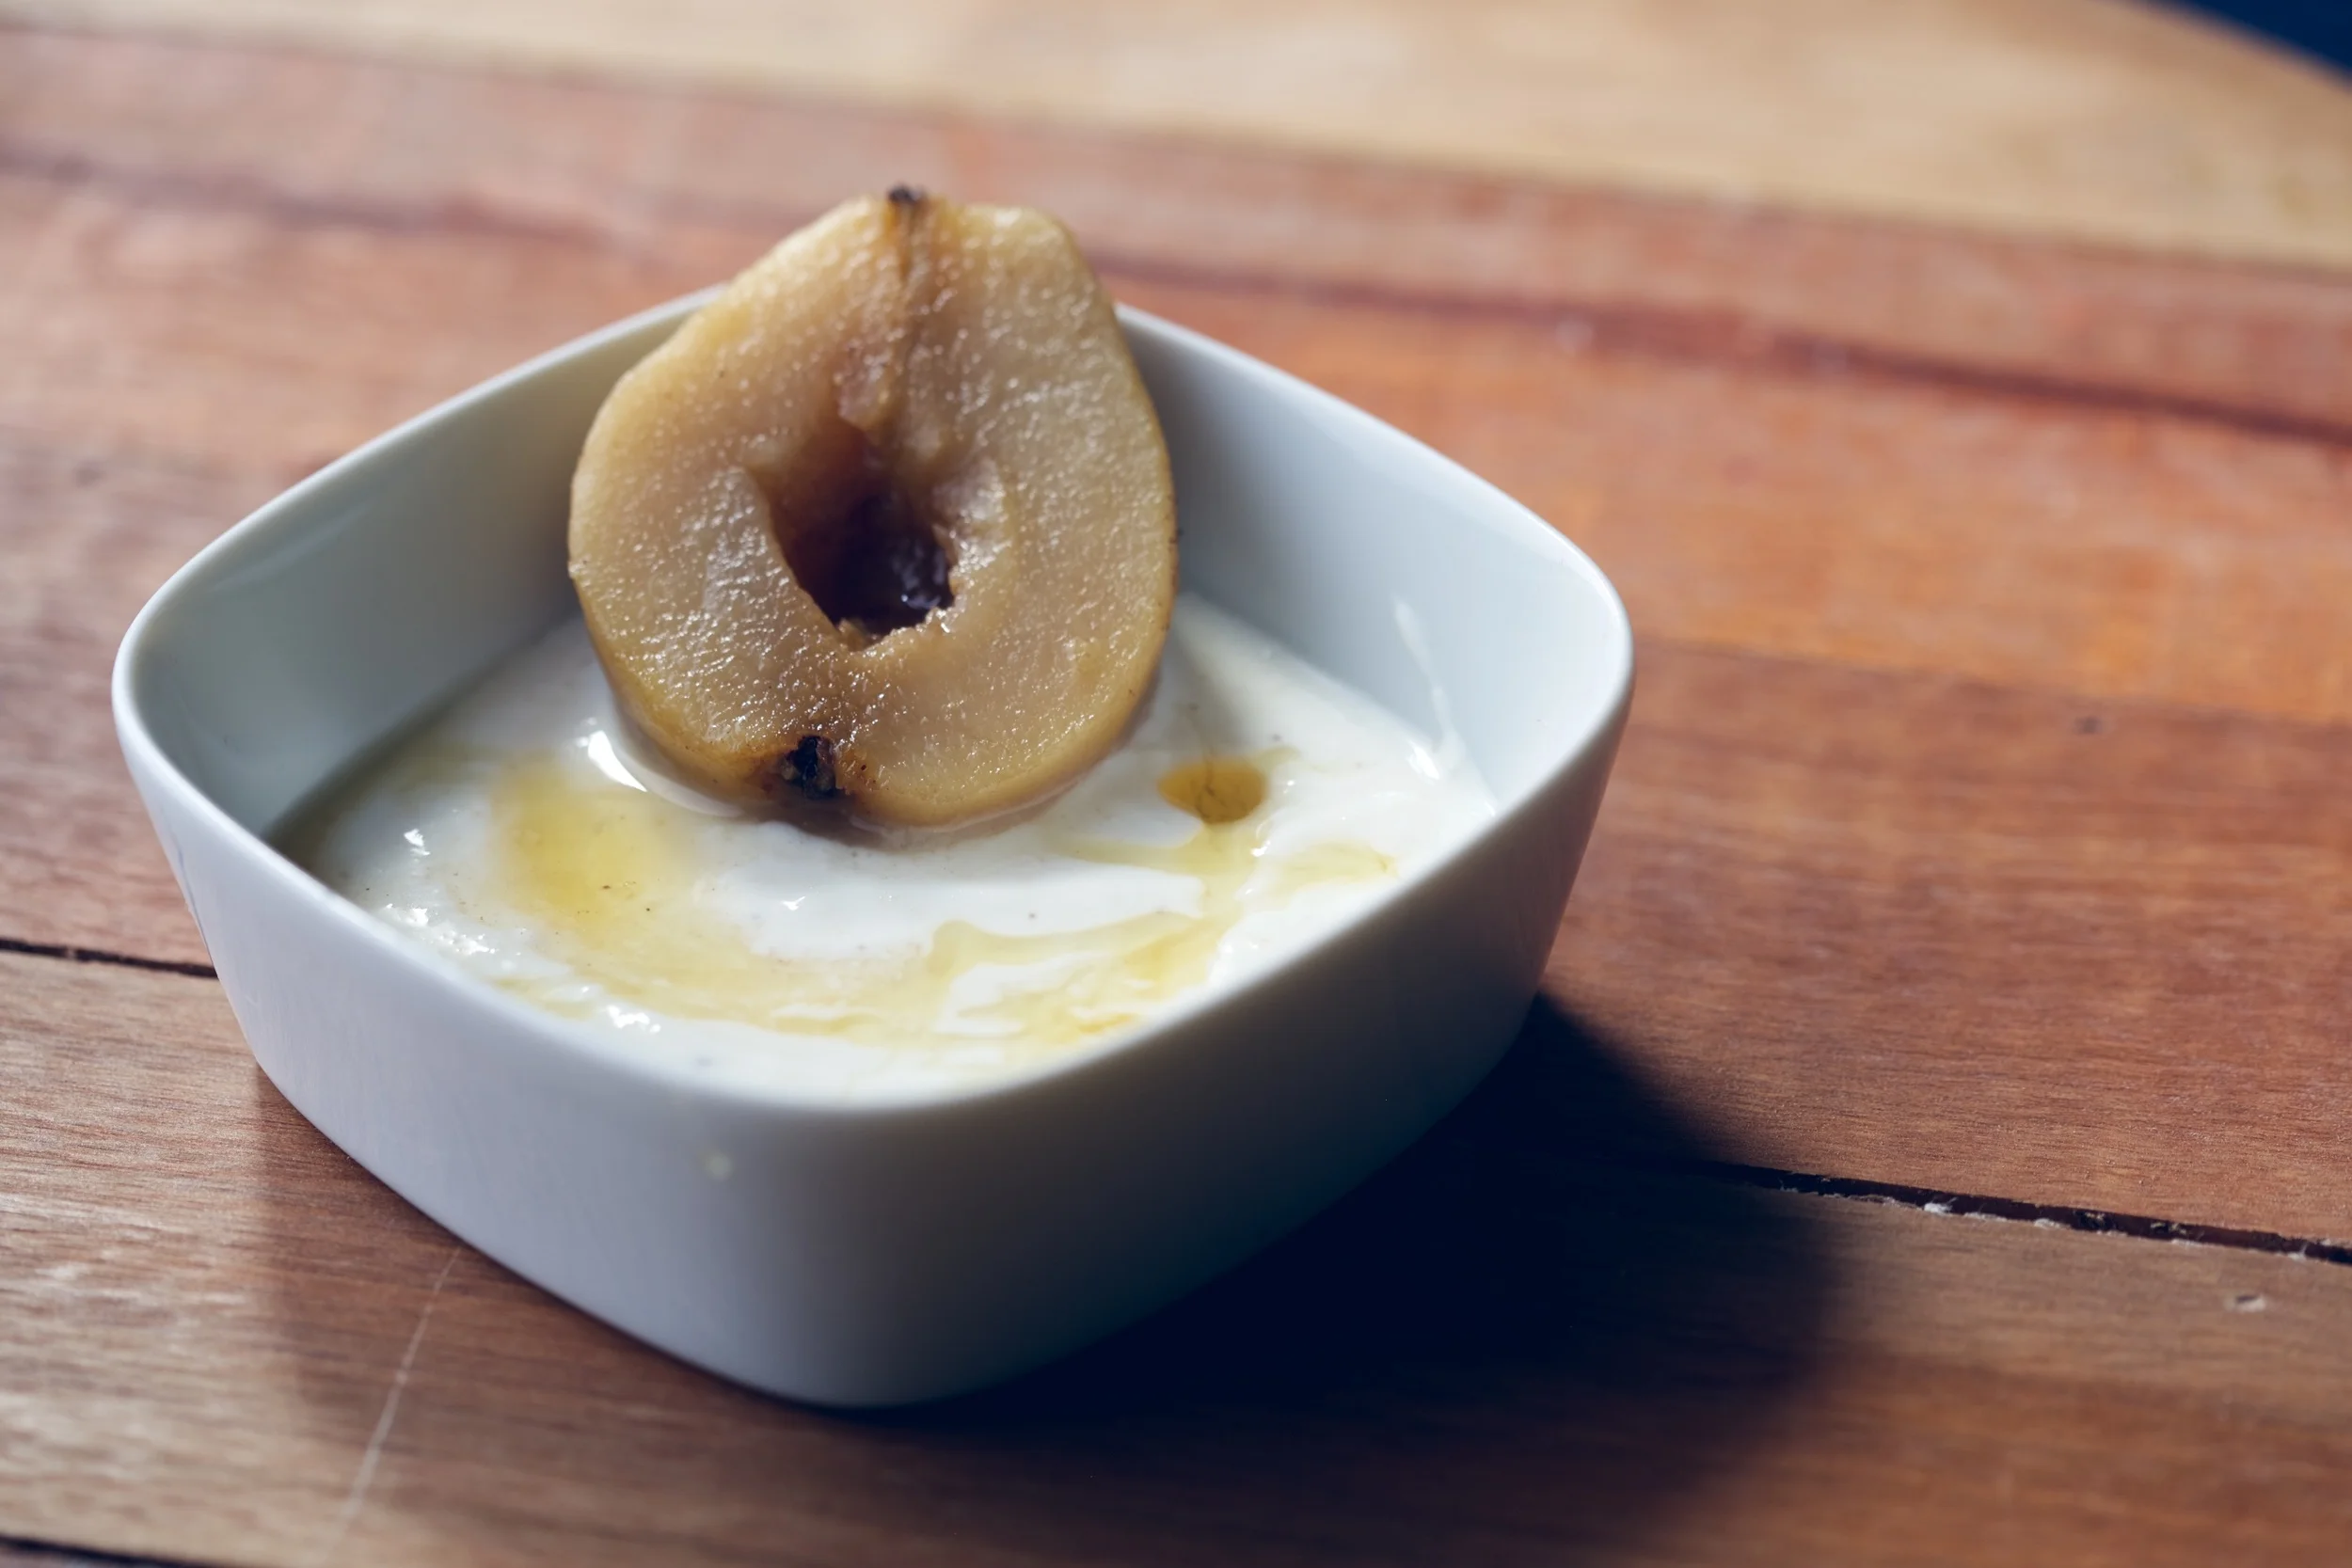
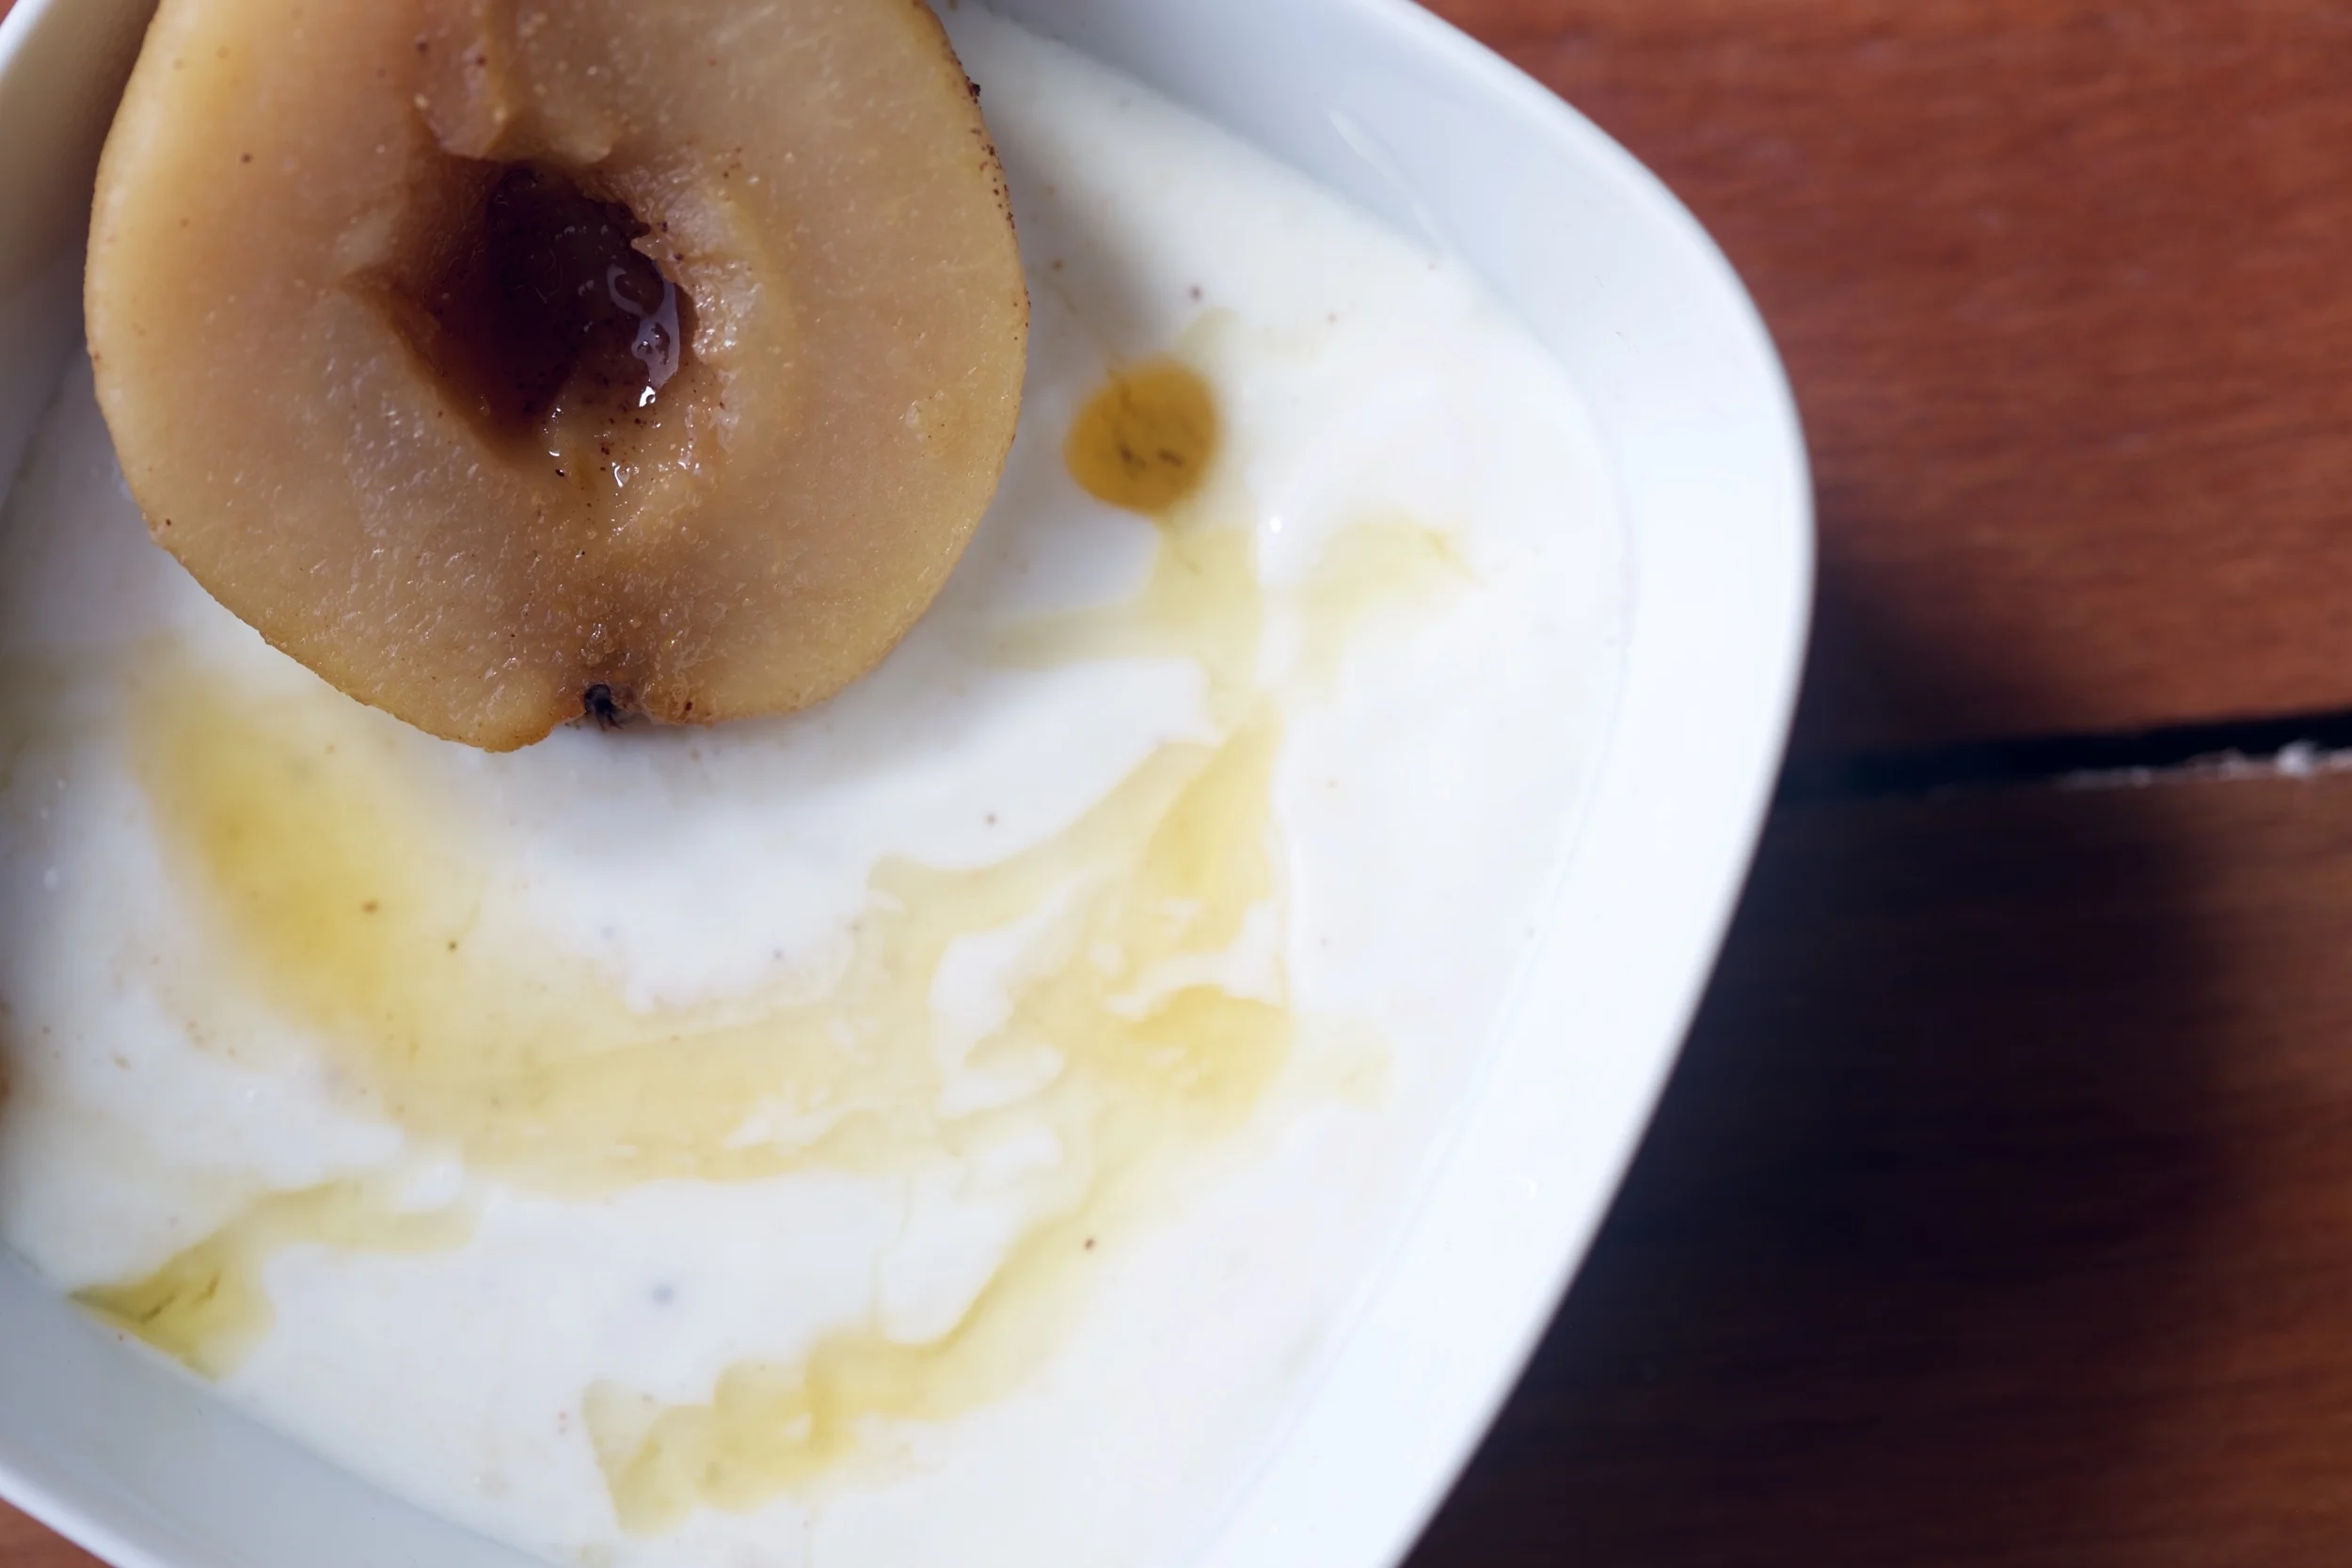
    • Can't find Figs? Try: Pears or Apples (You will want to cook them before adding to pastry)

Steps

1. Wash and slice your figs. (They do not have to be super thin)

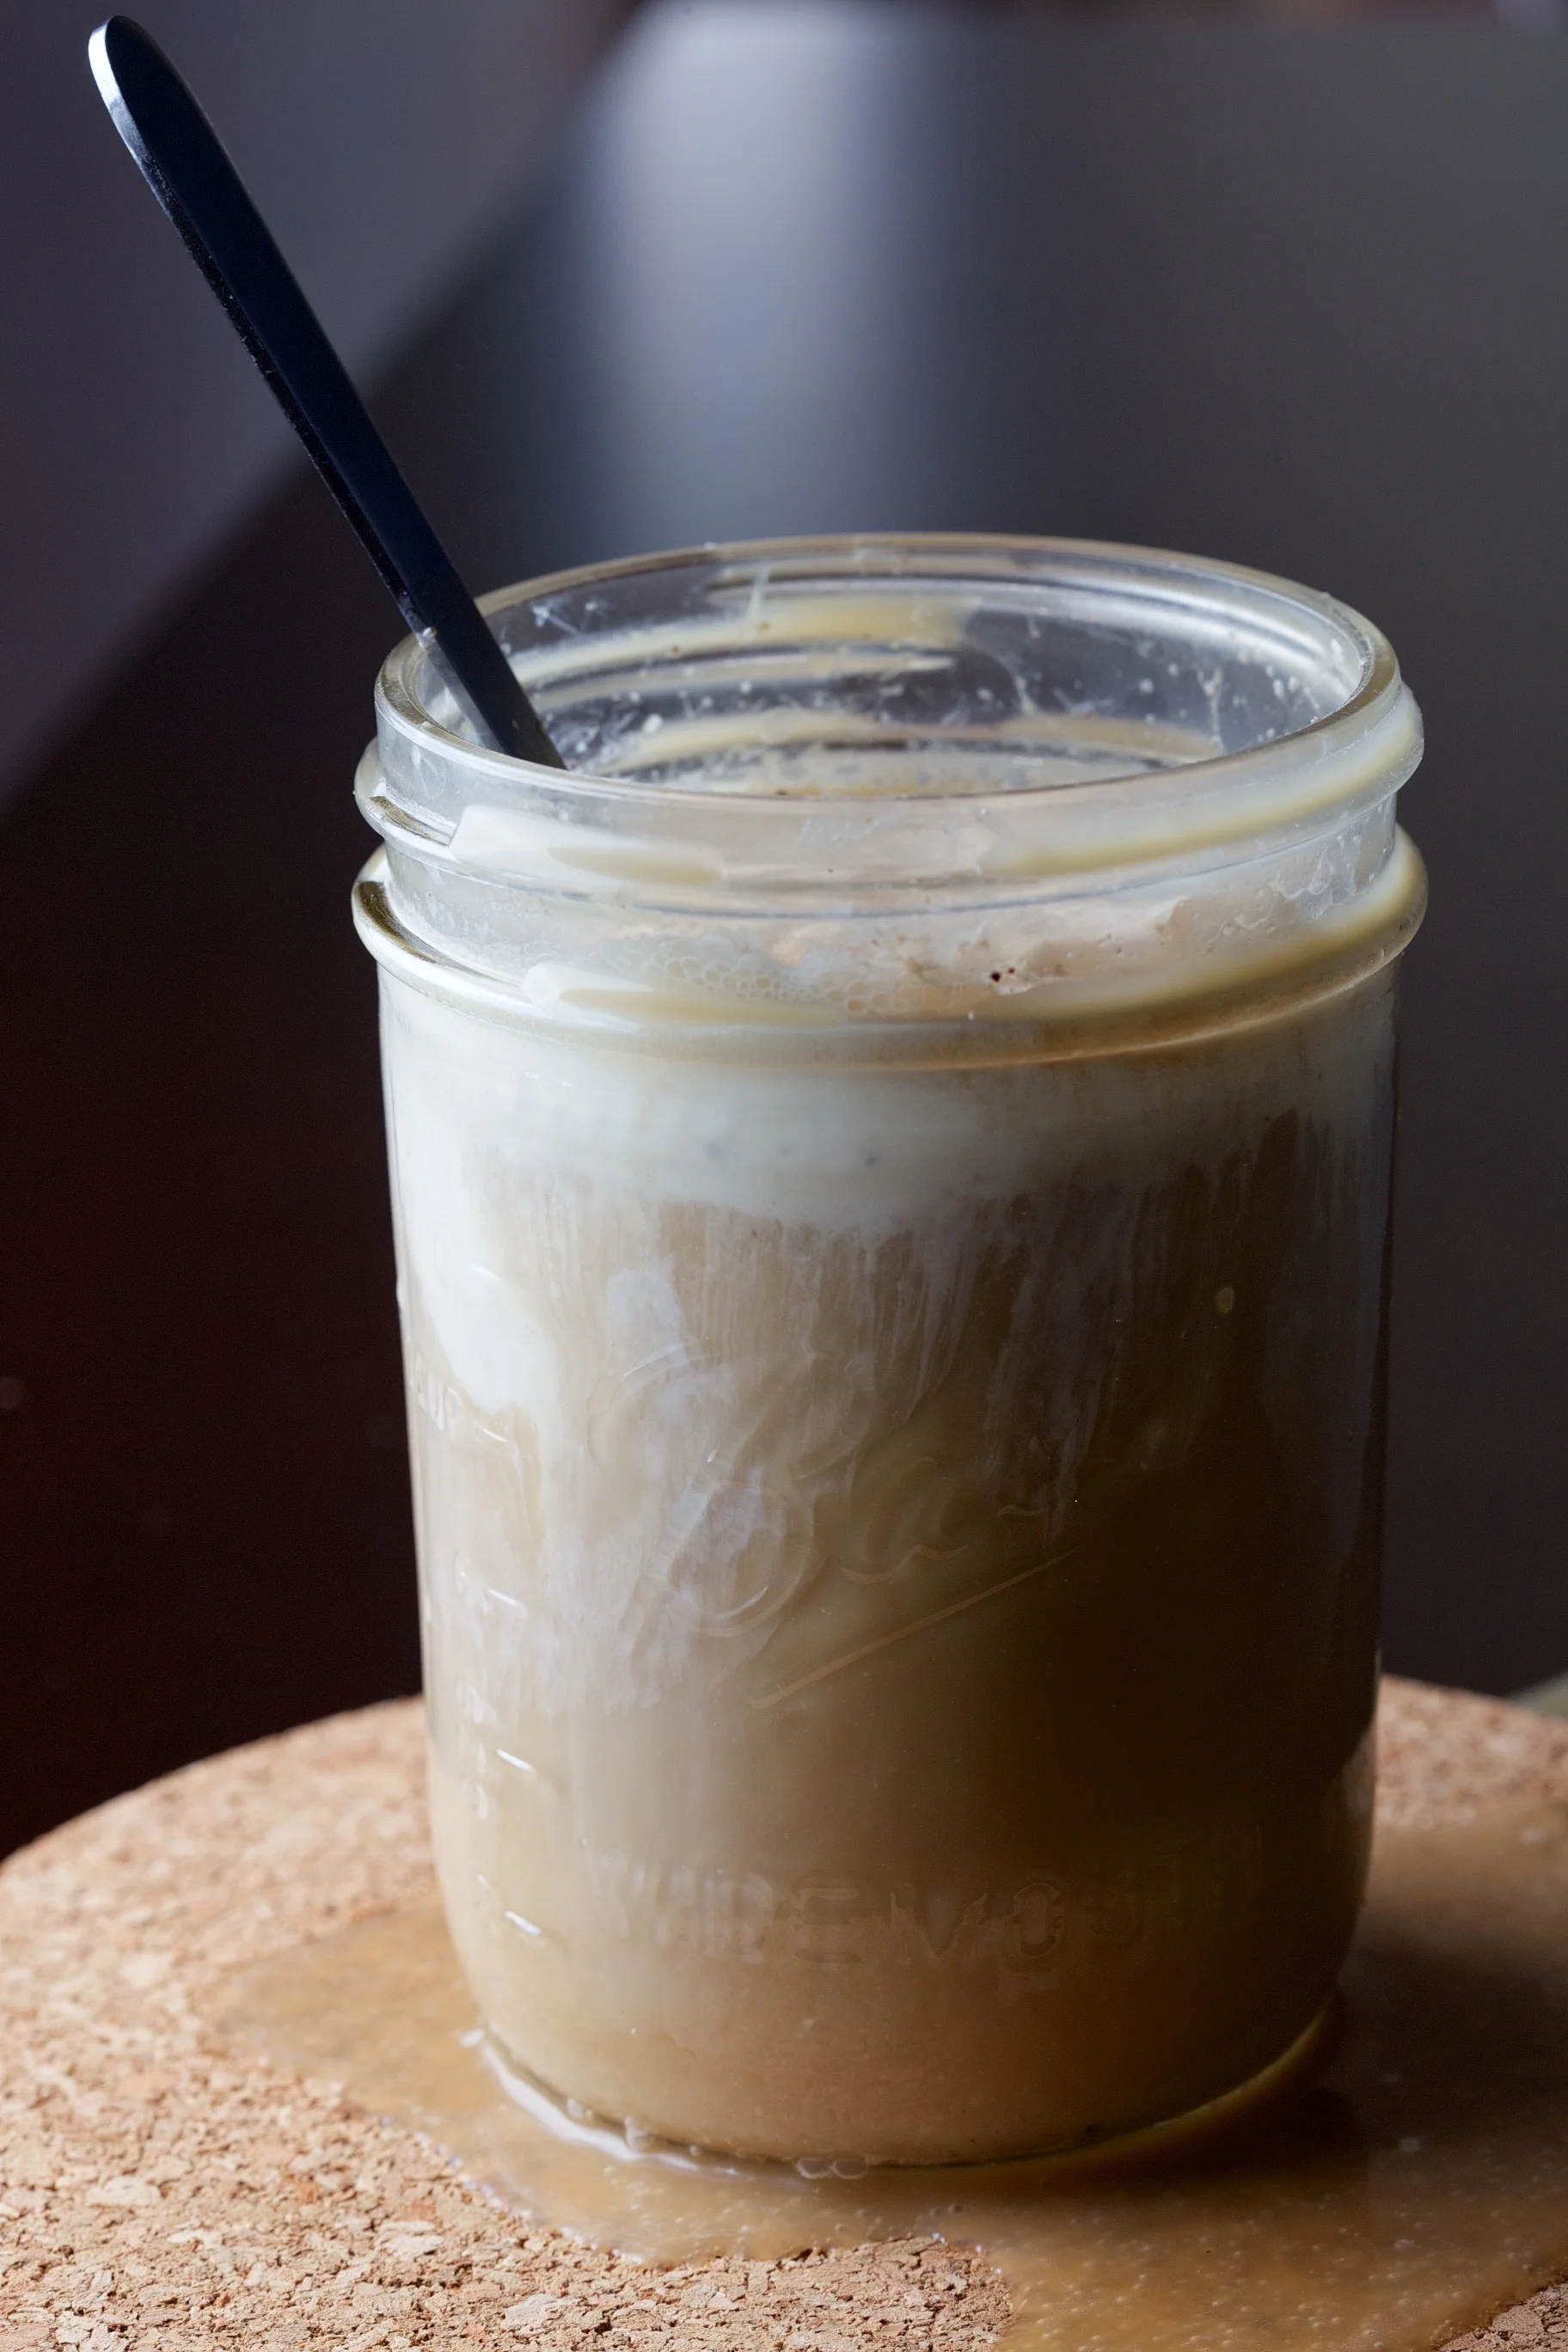
2. Create your spread (Half fruit spread and half cream cheese)

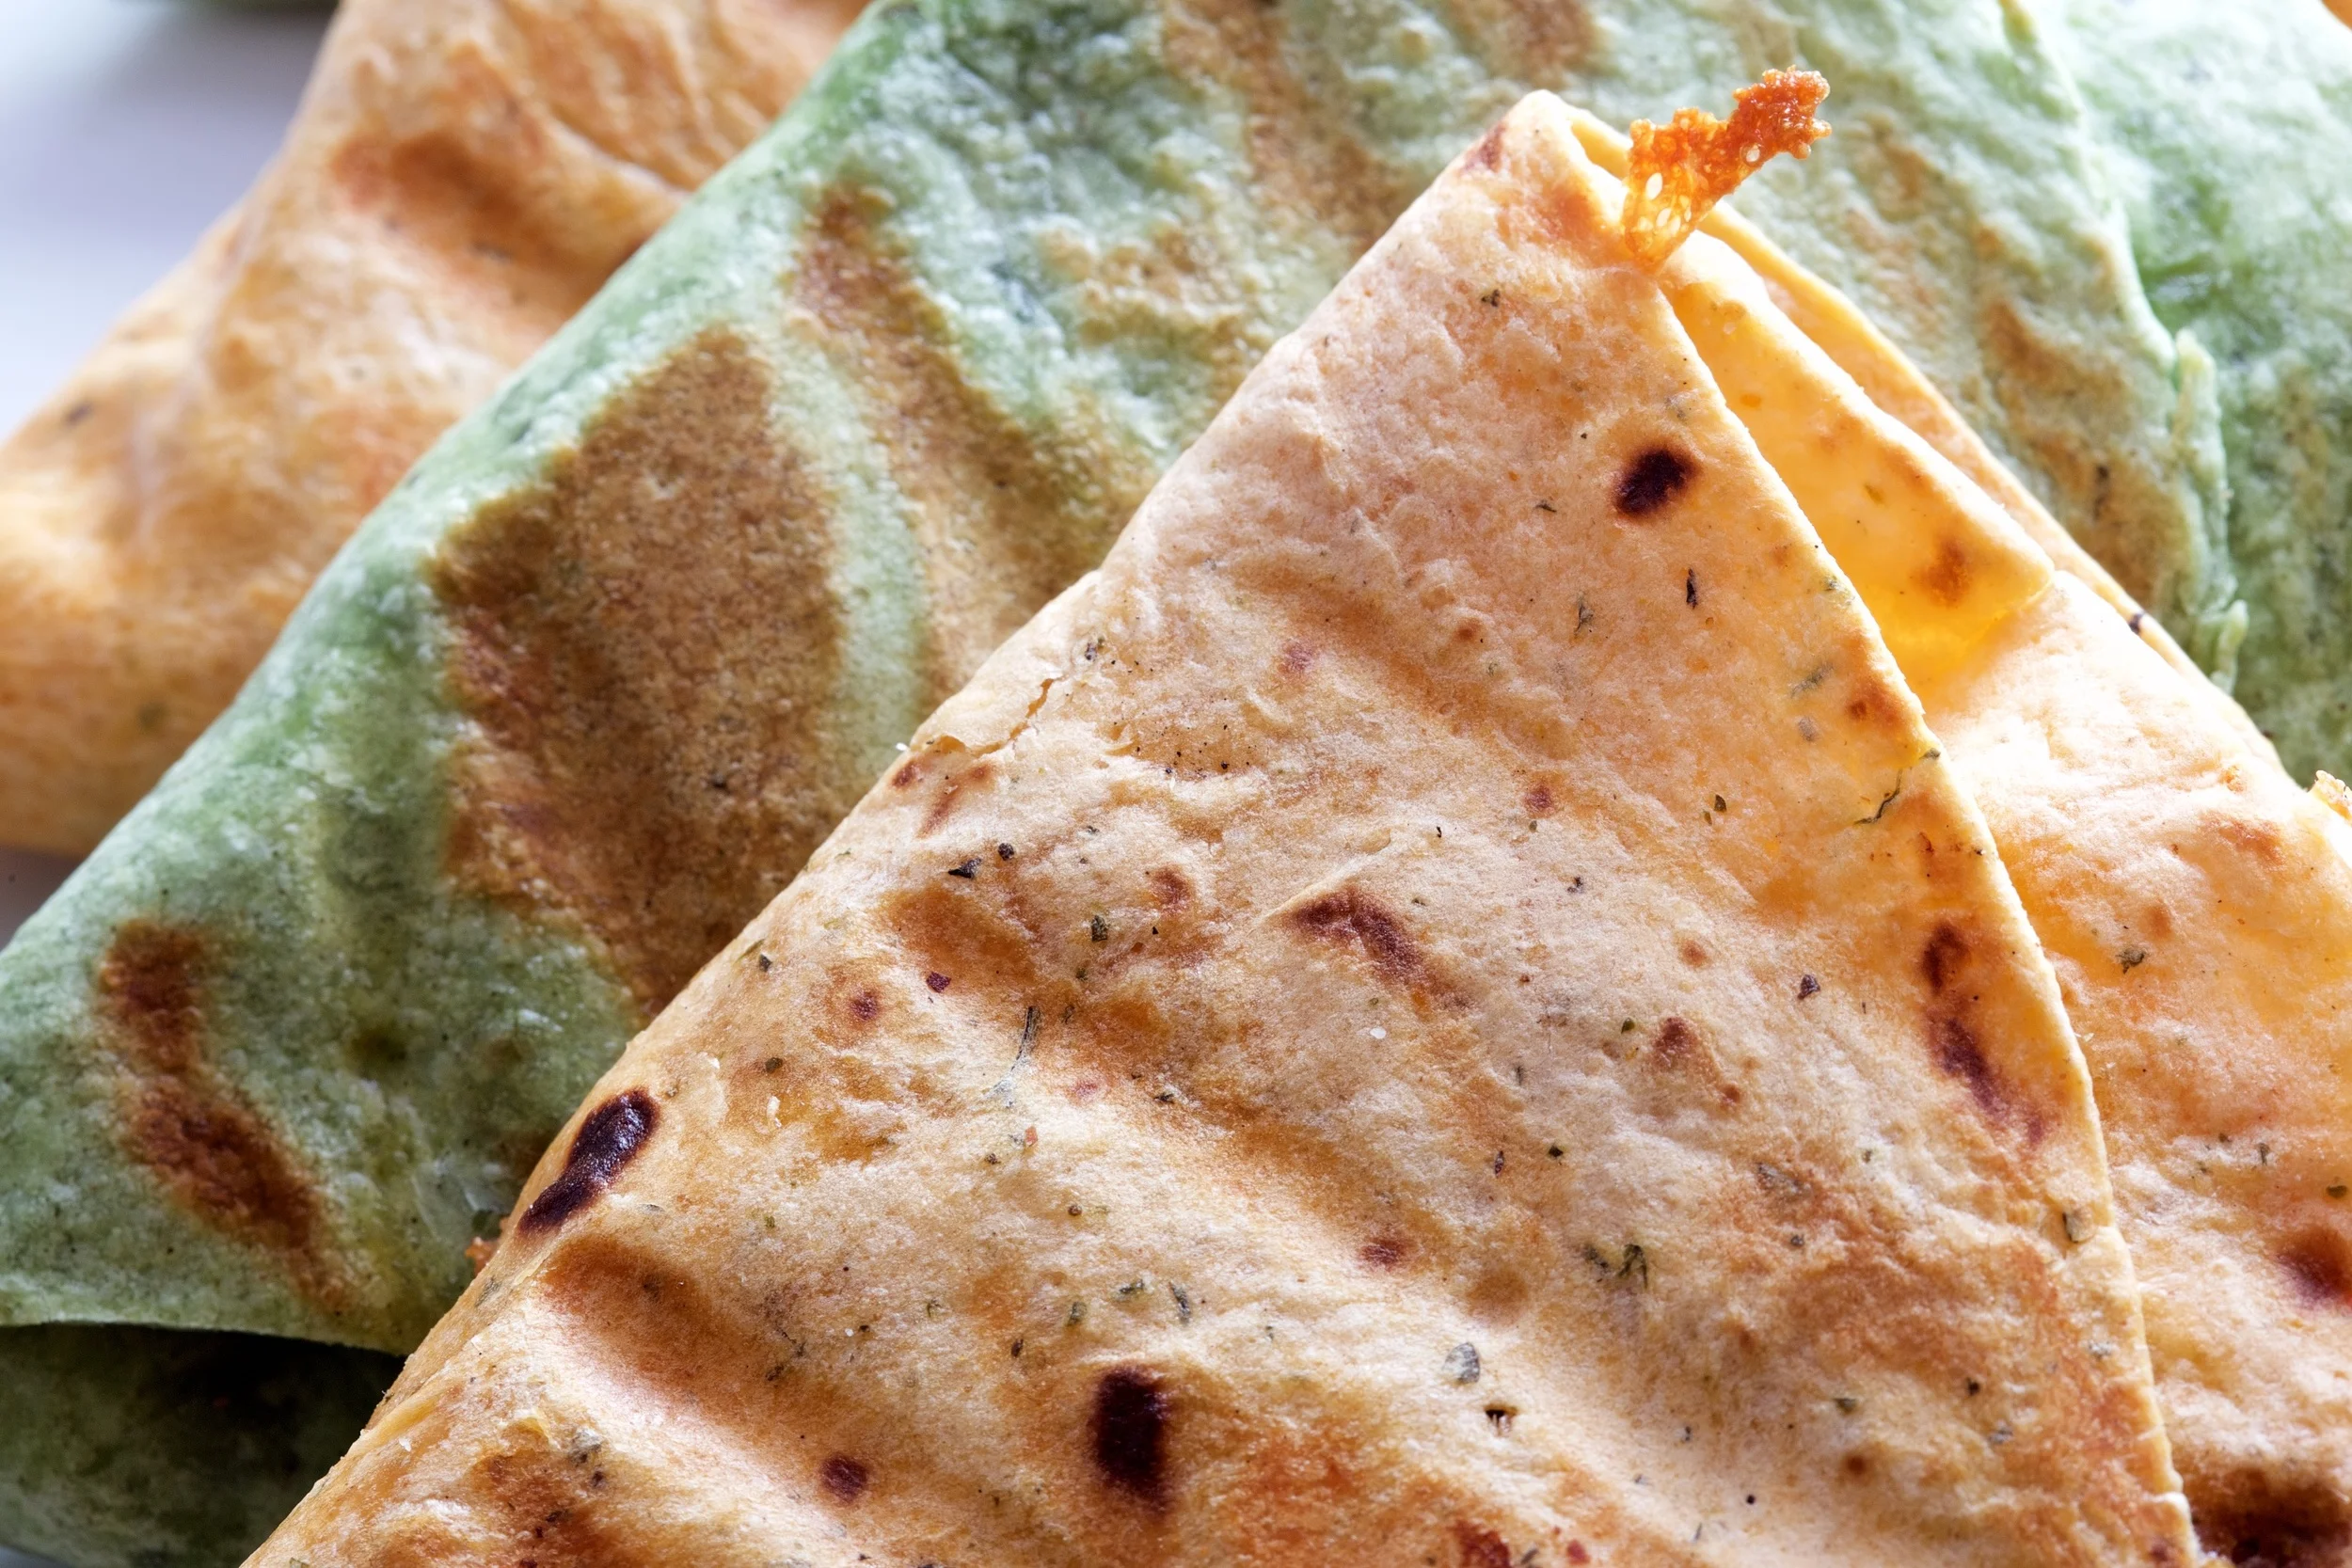
3. Remove crescent rolls from container (Yes, I hate that loud pop too). Now, instead of rolling them up, separate and leave flat on a cookie sheet. They should look like triangle pizza slices.

4. Spread your cream cheese/fruit spread mixture liberally on top of the flat dough

5. Top liberally with sliced figs. Place pastries into oven, following the directions on the Pillsbury package.

6. When done let them cool and if you would like drizzle a little honey on top. Totally optional.

7. Enjoy


Poached Pears

Shavise Glascoe

Autumn is my absolute favorite season. Where do I start? Beautiful leaves, pumpkin spice everything, football, insects go back to where they belong, and of course the holidays are around the corner. Another pretty neat thing about fall is that my wedding anniversary is right smack in the middle of this season, so of course I have warm and fuzzy feelings.

Well, for one of our anniversaries (I forgot which one of course), we set out on a restaurant hopping frenzy here in Baltimore. On our last stop for brunch we arrived at a very popular restaurant ready to devour any and everything that was placed on our table. The last item we received was a poached pear with yogurt. It sounded so yummy that we had to order it. But unfortunately we were NOT impressed (now you see why I did not name the restaurant).

As I am not a professional food critic, I'll keep it simple, we did not like it. Now I thought the idea was great, just the flavor was not all the way there. This also happened to be the same time that my husband and I were growing tired of the popular Greek yogurts being super high in sugar. So of course with these two issues, I decided to take matters into my own hands and give the Poached Pears for a try myself.

First, I got myself a GOOD yogurt so I went with a 2% fat yogurt. (You will thank me for that). Next, pears of course, you can go with whatever kind of pear you like. I personally enjoy Asian Pears. Now for making the yogurt stand out...... apple butter. And not just any old store bought apple butter, apple butter by Infused Spreads.  With this I only used a smidge to add a little flavor to the yogurt. After poaching the pears in a bath filled with cinnamon sticks, nutmeg, cloves and other seasonal goodness, this was the result.

Recipe:

1 pear (Makes 2 servings)

(2 containers or 2 cups) 2% Fat Greek Yogurt (Fage or Chobani)

Apple Butter 1-2 TBSP

Spice Options: Cinnamon (ground or sticks), Nutmeg, Cloves, Ginger, Allspice

Honey (Optional, to be drizzled at the end)

Steps:

1. Slice your pears in half length wise. Peal off skin and remove core and stem.

2. In a 2-3 qt pot, add water and spices. Place pear halves into water. You want to make sure they are fully submerged.

3. Bring to a gentle boil. Poach until the pears are nice and tender. You should be able to easily pierce the pear.

4. Mix the desired amount of apple butter into the Greek yogurt.

5. Add the still warm (not scorching hot) poached pear on top of the yogurt. Feel free to drizzle a little honey on top if you have no worries on the sugar content.

6. Enjoy


Mini Omelets

Shavise Glascoe

Breakfast is the most important meal of the day. It is also the most SKIPPED meal of the day. I get it....your alarm goes off, you quickly shower and pull yourself together in enough time to head out of the door. How could you possibly fit in time to prepare, let alone eat breakfast?

Well unless you've been living under a rock, I'm pretty sure you have heard of the phrase 'meal prepping'. You might have even tried it a few times. Other than having lunch and dinner figured out for a few days ahead, you can do the same with breakfast.

Now the 'Mini Omelets' is not an original recipe that I've created from scratch. There are a number of variations of this same dish available on Pinterest. However, I do like to put my own spin on it to add more variety.

Supplies Needed

Muffin Pan

Recipe

6-8 eggs beaten (or use liquid egg whites)

Filling Options

[Flavors to Try]

  • Vegetables: chopped: kale, spinach, bell peppers, mushrooms, tomatoes, carrots, onions, leeks, broccoli
  • Meats: diced ham, diced turkey bacon, sausage, pancetta, chorizo
  • Cheese: shredded cheddar, crumbled feta, shredded parmesan
  • Seasoning/Herbs: cayenne, pepper, salt, basil, thyme, dill, garlic chives, parsley, tarragon

Steps

1. Preheat oven to 350 degrees and grease the bottoms and sides of cups in muffin pan. This will ensure a stick-free removal once the omelets are done.

2. Beat 6-8 eggs (you can also use egg whites) and season with salt and pepper or any of the herbs and spices listed above.

3.  Prep selected fillings, then load into greased cups in muffin pan

4. Pour in egg batter (be sure to leave a little space at the top because the eggs will rise)

5. Bake for about 18-20min

  • or you can insert a knife (The knife will come out clean when it's done.)

6. Remove from muffin pan and enjoy!

For an easy To-Go Breakfast:

**Once cooled place extras in Ziploc bags and freeze. You can defrost in the microwave for about 1 1/2 minutes before serving. **

Coffee Ice Cream Float

Shavise Glascoe

One look at the bottle of cold brew coffee and I knew what it was destined for. I, like any other exhausted parent, am a big fan of coffee. So much so that I've been trying to find other socially acceptable ways to consume coffee after 5pm (other than coffee liquor). With that being said, why NOT make an easy dessert? And when I say easy, I really mean easy (not what a professional chef would call easy, average person easy). So of course this would lead to a three ingredient ice cream float.

Now two of the three ingredients are from local businesses, but you can easily find a substitute. The coffee I used is from Zeke's Coffee, which I absolutely love. The Coffee & Donut ice cream is from The Charmery (a local ice cream shop). As for the third ingredient it is available nationwide, Vanilla Bean Dry Soda.

Recipe

1 bottle of Vanilla Bean Dry Soda*

Cold Brew Coffee (as much or as little as you want)

2 scoops of Coffee & Donut Ice Cream

  • [Ice Cream Flavors to Try: Vanilla, Cinnamon, Caramel, Dark Chocolate]

Steps

In a mason jar, I added one scoop of ice cream. I then poured a good amount of the soda (about 1/2 a bottle) and cold brew coffee. Finally, I added the second scoop of ice cream on top.

* 1 bottle of Vanilla Bean Dry Soda can make about 2 floats.

Grilled Chicken Wraps

Shavise Glascoe

GFK Kimchi by HEX FERMENTS on the side

GFK Kimchi by HEX FERMENTS on the side

Managing a hectic schedule is an art that absolutely no one does perfectly all of the time. Some days we have it all figured out while others we are a complete mess...well at least I am. Now, balancing a crazy schedule and healthy lifestyle brings on a whole new challenge, if you are unprepared. 

We've all had those days where we forgot or simply didn't have the time to pack lunch. At that moment we see our hopes of having a healthy and balanced diet for that day go down the drain. We end up eating fast food or snacks from the vending machine for lunch or worse, we don't eat lunch at all.

After going down that road a few times, I learned that I had to K.I.S.S. (Keep It Simple Shavise). I was trying to make my lunches too extravagant and it became too time consuming for me to keep up with. So, I started testing a few ideas for wraps and consistently this chicken wrap came out the winner.

One thing that I really love about this dish is that it is extremely versatile. There almost seems to be no limit on the number of flavor combinations you can use for this wrap. This is definitely not one of those recipes that you sends you out to the market hunting for specific ingredients. So relax, have some fun with this dish and make it your own!

Recipe

  • 1/2 Tortilla
  • Seasoned chicken breast
  • About 1/3 cup sauteed (Kale, Red Bell Pepper, Onion-as seen in photos)
  • 2 tablespoons of Caesar Dressing (or spread of your choice)
  • 1/4 cup Shredded Cheese

Steps

1. Season and cook chicken. Slice chicken on a bias

2. Sauté the kale, bell pepper and onion

3. Cut tortilla in half. (1 tortilla will make 2 wraps)

4. Spread dressing onto tortilla

5. Add kale, bell pepper, onion and chicken

6. Top with shredded cheese

7. Fold into a triangle

8. Grill until cheese has melted (or enjoy as is)

**Be sure to wrap in plastic wrap if you are not eating it right away** 


Honey Lavender Ice Cream Float

Shavise Glascoe

I have an interesting relationship with lavender. For one, I love the smell of lavender. Ask any of my good college friends what Glade plug-in I used in my dorm room and they would say LAVENDER. But in terms of eating or drinking lavender, my love had not yet gone to that level.

I discovered Dry Lavender Soda a few years ago at a burger joint in Atlanta. I figured since I was in the "trying something new" phase I'd give it a go. Little did I know how amazing it actually was. This simple soda changed my life, well it at least changed the way I viewed my old love.

After returning to Baltimore from my trip I was obsessed with the flavor, along with developing an obsession with the company that made this soda (Dry Soda). After purchasing and devouring my first 4-pk, my mind began to race with ideas as to what to DO with this soda. I immediately thought of an ice cream float, but finding the perfect ice cream was not so easy. I eventually gave up because I didn't want to settle for a plain vanilla. Not even a full week later I stumbled across Moorenko's Honey Lavender ice cream and a lovely lavender-lemon simple syrup by Royal Rose. After snagging those items, I was in business!!

Recipe

1 bottle of Dry Lavender Soda*

1-2tsp Lavender Lemon Simple Syrup

2 scoops of Honey Lavender Ice Cream (or whatever flavor ice cream you prefer)

Steps

In a mason jar, I added the simple syrup and a scoop of ice cream. I then poured a good amount of the soda (about 1/2 a bottle) and topped it off with another scoop of ice cream.

* 1 bottle of Dry Lavender Soda can make about 2 floats.


Hazel's Macaroni & Cheese

Shavise Glascoe

Why not have my first recipe be in honor of one of the strongest women ever?!  Hazel Peterson aka my great grandmother passed this marvelous macaroni and cheese recipe down to my grandmother and now it is in my hands. Growing up in Gary, IN winters got cold, really cold and this comforting dish always saved the day.

10658627_970538592957991_529031180263127464_o.jpg

Why am I talking about macaroni and cheese at the end of the summer? Although I do love my new home here in Baltimore, I do get homesick from time to time. When that feeling kicks in, I go to this dish for comfort. So to clarify, yes this dish could pop up in the dead of winter or on the hottest day of the summer, doesn't matter to me, as long as I have this macaroni and cheese and a piece home.

Other than being pure comfort, it also is pretty darn tasty. Not like your average mac and cheese, this girl is loaded with flavor and veggies

Recipe

2 cups uncooked macaroni

1/4 cup chopped pimento

1/4 cup chopped green pepper

1/2 cup milk

1/3 cup mayonnaise

1/4 cup chopped onion

1 can cream of mushroom soup

2 cups of shredded sharp cheese (1 cup will be used for the topping)

 Fresh parsley (Optional, sprinkle a little on top if you want)

Steps

Preheat the oven to 400 degrees. Cook the macaroni. After cooking the macaroni, mix the pimento, green pepper, milk, mayonnaise, onion, mushroom soup and 1 cup of cheese together and put in a 2qt glass casserole dish. Add the second cup of shredded cheese on top before placing in the oven. Bake for 20 minutes covered (with baking dish lid), remove cover and bake for additional 5minutes (until the cheese is bubbling).

And there you have it. Serving size depends on how hungry you are (good for about 4-6 people).